Step-by-step guide to repotting plants
DIY and how-to

Just as hermit crabs outgrow their shells, house plants will eventually outgrow their pots.
Signs that your plants have become too big for their current pots include: declining or stunted growth, pale and dull leaves, and water that drains very quickly through the soil.
Follow this step-by-step guide to repotting your plants:
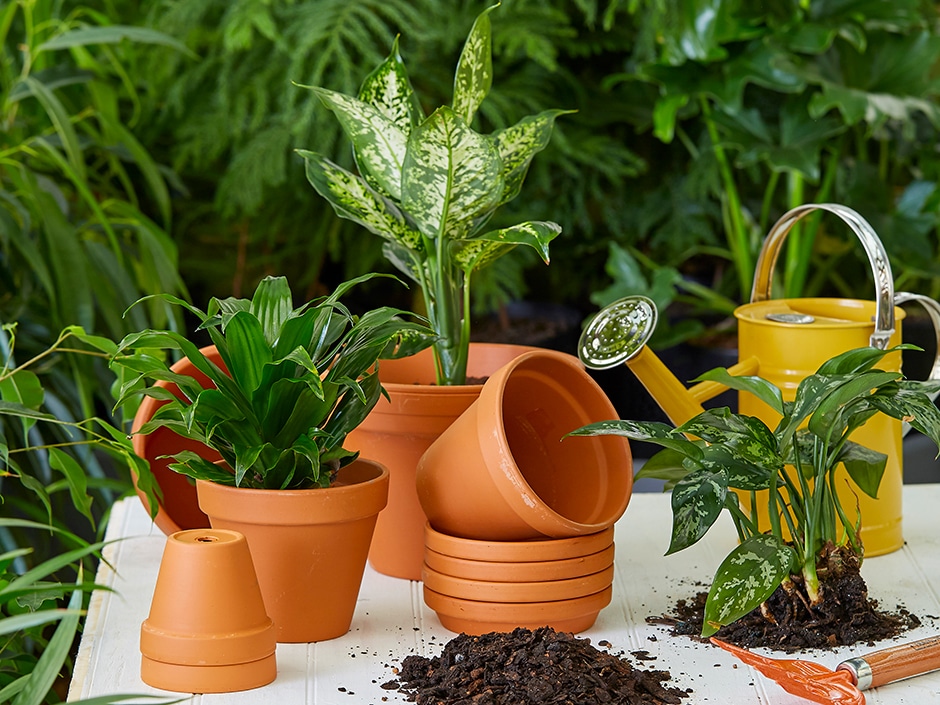
- First, choose a container that is only about 5cm larger in diameter than the current pot. If the pot is too large the potting soil will retain too much water which can cause root rot.
- Carefully free the plant from its current container. It may be helpful to dampen the soil so that the roots can slide freely from the side of the pot.
- Now tickle the roots! Using your fingers, gently loosen and pull apart the roots along the sides and bottom of the root ball. Dead or decaying roots can be cut away using a pair of secateurs. This step will encourage new root growth.
- Now place your plant in the middle of its new container. Buy high quality potting soil that is lightweight and has good drainage. Adjust the height of the plant, using the potting soil, so that the soil line is about 1-2cm from the top of the container. Now fill in the rest of the container, gently pressing the soil around the plant’s roots.
- Water the plant and allow the water to flow out from the bottom of the container to ensure good contact with the roots. Add more soil if necessary.
Repotting your house plants will greatly improve their overall health. It’s like sending your plants to a health spa. We tend to ignore indoor plants, treating them like green statues, until they look so awful there’s no way you cannot see them. So be kind to your plants and take time to give them a new home this year!
You might also like
Shop online
-
- Sale!
PHILODENDRON HASTATUM 14CM
- Original price was: R179.99.R99.99Current price is: R99.99.
- Add to cart Learn More
-
Chicken Manure
- R44.99
- Add to cart Learn More


